
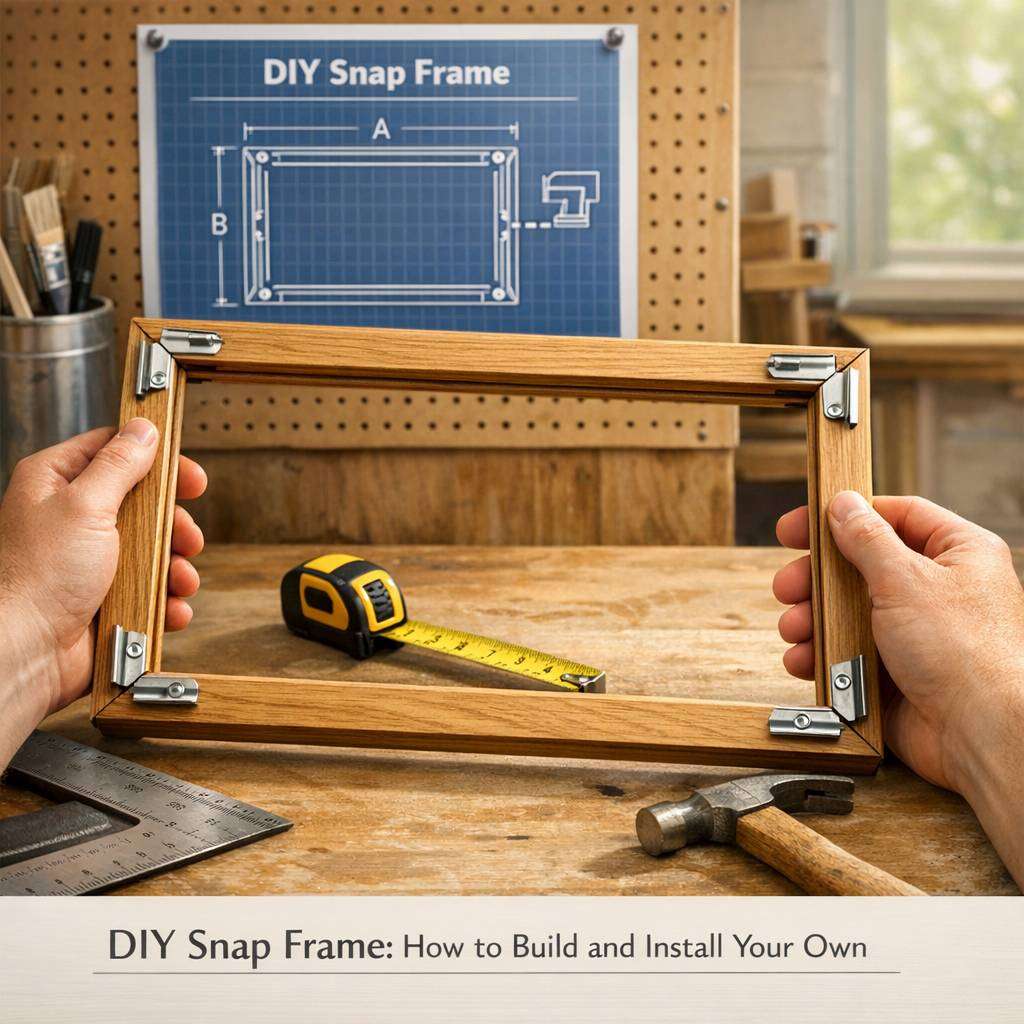
If you’ve ever wanted to display posters, artwork, or notices with a clean, professional look, a snap frame is a versatile and affordable solution. This guide walks you through designing, building, and installing your own snap frame, using readily available materials and straightforward techniques. By the end, you’ll have a sturdy, frame-ready display that can be updated in minutes.
A snap frame enhances gallery displays, offering quick changes and bold presentation. Durable, lightweight, and easy to mount, it protects art while keeping focus on the image. Discover options at snap frame to upgrade your space today.
What is a snap frame?
A snap frame is a lightweight, ready-to-swap display frame that secures a print by snapping the front cover into a channel surrounding the artwork. The result is a smooth, glare-free surface with a professional appearance. Snap frames are ideal for retail, offices, classrooms, and homes where frequent poster changes are desirable. They come in a range of sizes and finishes, from budget-friendly plastic to robust aluminium, and can be wall-mounted or used as freestanding displays.
Planning and materials
Before you start, consider the size, orientation, and location of your snap frame. Decide whether you want a fixed wall mount or a freestanding unit, and measure the available space to determine the outer frame dimensions. Typical snap frames use a simple “hook-and-lip” system: a front cover that snaps into a channel around the image, with a backing insert that holds the print flat.
Materials you’ll need:
- Frame muntins or an aluminium extrusion kit in your chosen size
- Front cover (often a clear polycarbonate or acrylic sheet)
- Backing panel (cardboard, foam board, or a thin plywood sheet)
- Mounting hardware (screws, wall plugs, and, if desired, picture hanging kits)
- Rubber or silicone seals to cushion the print
- A finishing profile or trim to conceal joints (optional)
Tools:
- Measuring tape, square, and a straight edge
- Hobby saw or miter saw for frame cuts
- Drill and appropriate drill bits
- Screwdriver and countersink bit
- Utility knife
- Rubber mallet or hammer
- Glue or adhesive if required for the backing
Safety:
- Wear eye protection when cutting and drilling
- Use a stable workbench and clamps to secure materials
Designing your frame
A snap frame’s essential components are the outer frame moulding, a transparent front cover, and a backing board held securely in place. You can design your own using timber or metal extrusion, but for most DIYers, purchasing an extrusion kit or repurposing ready-made snap frame components speeds things up. Ensure the corner joints are square for a neat finish, and plan for a slight bevel on the edge to reduce sharp corners.
If you’re building a custom size, leave a small tolerance in the frame width to accommodate the thickness of the print plus a slim protective sheet. Remember that the front cover must align perfectly with the frame channel so that it snaps in with even pressure around the perimeter.
Building the frame
Installing the snap front
The defining feature of a snap frame is the front cover that snaps into the frame. The method varies slightly depending on your chosen design:
- Plastic snap frames: The front cover is often a rigid plastic sheet with a small bevel. Place the print and backing inside, align the front cover, and press evenly around the edges until it snaps into the channel.
- Aluminium snap frames: Some designs use a sliding front panel or a flexible gasket. With the sliding type, insert the print and backing, then slide the front panel into place, ensuring it seats the channel completely.
- Magnetic snap frames: Certain variants use magnets to hold the front cover. If you choose this approach, ensure the magnets provide uniform retention around the frame.
Test the closure by gently pressing along each edge to confirm all sides snap in evenly. If any edge is resistant, remove the front cover and inspect for misalignment or debris.
Mounting the snap frame
Decide on a mounting method that suits your wall type and location.
- Surface mounting (wall): Mark suitable anchor points using a spirit level for horizontal alignment. Pre-drill holes if necessary, insert wall plugs, and secure the frame with screws. If the frame is heavy, use multiple fixings or a French cleat system for extra stability.
- Hanging rails: For a gallery-style setup, consider attaching the frame to cables or rails so you can slide in different prints easily.
- Freestanding: If using a stand or easel, ensure the base provides adequate support and balance to prevent tipping.
Accessibility is important: place snap frames at an eye level and within reach for quick poster swaps.
Fine-tuning and maintenance
To keep your snap frame looking pristine, wipe the front cover with a soft, lint-free cloth. Avoid ammonia-based cleaners that could damage polycarbonate or acrylic. Inspect the frame occasionally for loose screws or gaps in the joinery, and tighten or reseat as needed. If the print is prone to curling, consider a slightly stiffer backing or a thin spacer to preserve a flat, professional presentation.
Common issues and fixes:
- Front cover won’t snap in: Check for debris in the channel, ensure the print fits within the intended thickness, and verify the frame isn’t bowed.
- Print shift: Use a slim backing sheet or double-sided tape to secure the print in place before snapping the cover.
Customisation and finishes
Snap frames are available in a variety of finishes—matte black, brushed aluminium, wood veneer, and more. Choose a finish that complements your decor or branding. If you’re building multiple frames, standardising sizes and finishes can create a cohesive look across a space.
With careful planning, precise cutting, and proper assembly, your DIY snap frame will deliver a polished display that’s both practical and stylish. Whether you’re updating event signage, rotating art, or simply tidying a busy noticeboard, a well-made snap frame offers a reliable, swap-friendly solution.